
Resources » How to Convert PDFs »
How to Take, Convert and Combine Screenshots Into a Single PDF File
Capturing images online is easy with the snipping tool. There are many images, webpages, and portions of web pages that you can’t right-click and save the same way that you can an image. This is where the snipping tool comes into play. If you want to take a snapshot of a portion of a webpage, for example, the snipping tool allows you to designate exactly what you want a screenshot of.
But once you’ve taken your screenshots, how do you share them with others? What if you want to share a bunch of screenshots?
This article will be all about converting a screenshot to a PDF. We’ll achieve this by saving our screenshots and then using our PDF converter tool that allows you to convert images to PDFs.
Using Windows’ Snipping Tool
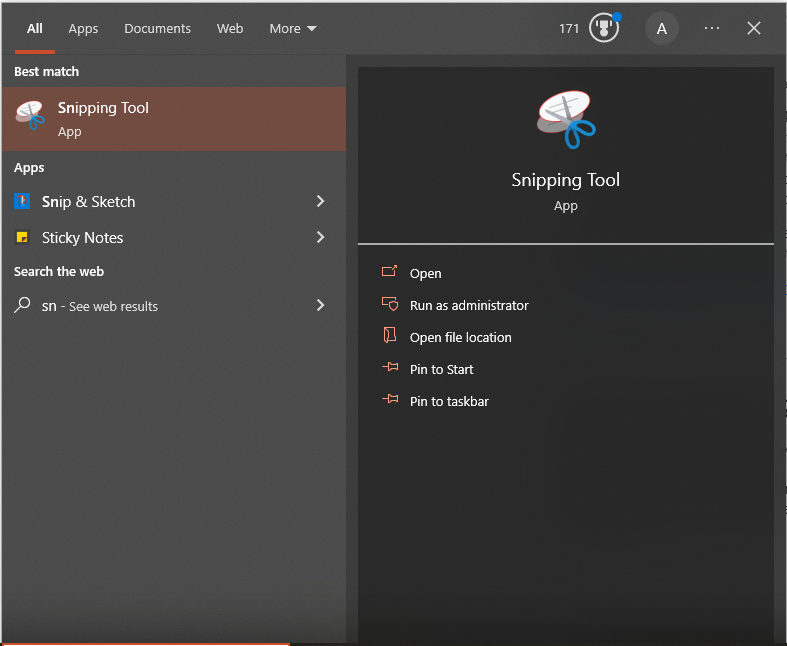
If you’re on a Windows machine, the snipping tool is already available to you. Simply type Snipping into the Windows search bar and you’ll see the icon of a pair of scissors.
This tool allows you to cut out certain portions of anything that’s currently displayed on your monitor. By selecting New, you’ll see that your screen will be slightly gray. You can then use your cursor to draw a box over whatever you want to screenshot.
After you’ve done this, you’ll see a preview of the screenshot you’ve taken. You can always retake a screenshot with New, or select Mode if you want a screenshot shaped differently from a box.
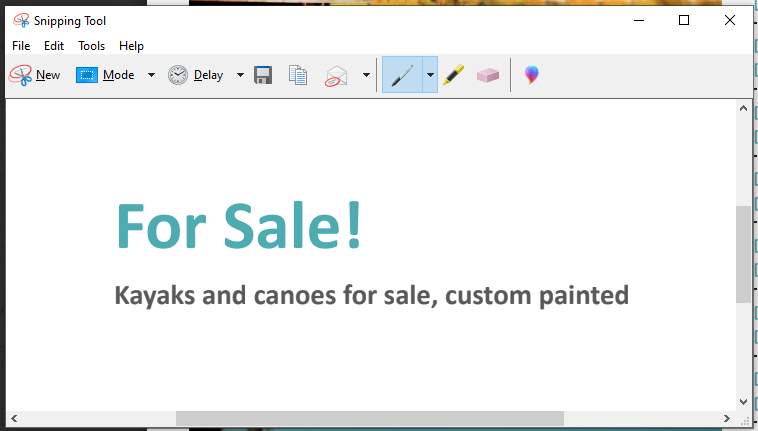
From here, you can copy the screenshot you’ve taken by selecting the icon with two pages on top of one another. This is useful if you want to paste it somewhere else. You can also save the image by selecting File > Save As.
Converting a screenshot to a PDF starts from here, so make sure you’re familiar with the snipping tool before continuing.
Using Mac’s Screenshot Tool
Apple’s Mac laptops allow you to take screenshots using keystrokes. Here are three keystrokes you can use to take screenshots.
1. Pressing Command + Shift + 3 together will take a screenshot of your entire screen (and all screens, if you have more than one connected screen).
2. Pressing Command + Shift + 4 will allow you to click and drag to draw a box around what you want to screenshot.
3. Pressing Command + Shift + 5 brings up a cropping screen that allows you to drag, move, and adjust the size of the clipped portion of the screen.

How to Combine Screenshots Into One PDF
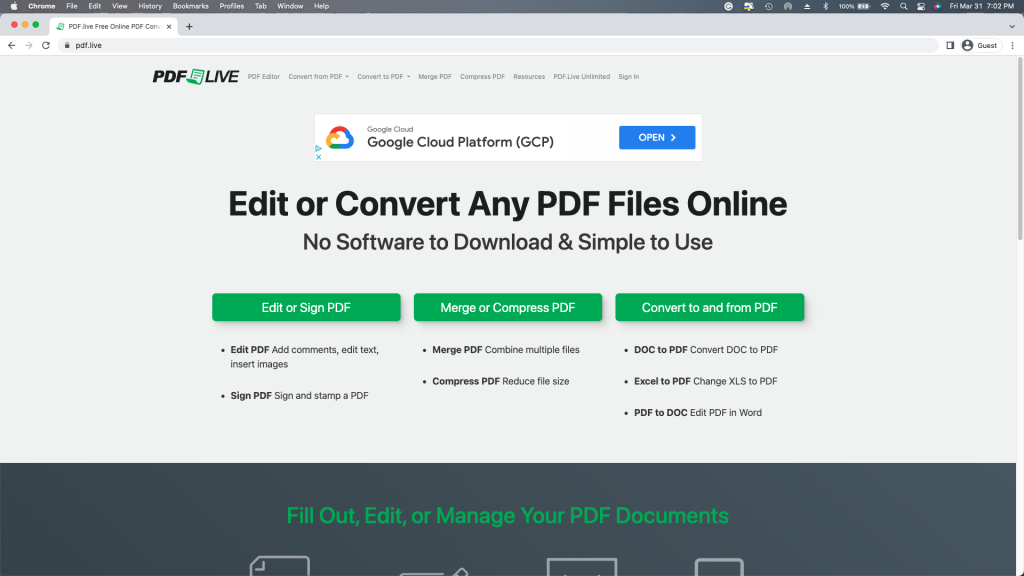
If you want to combine screenshots into a single file, you’ll need to convert them from image files to PDF formats. PDF.Live offers a JPEG to PDF converter that’s available entirely online for you to use (no additional downloads!). To make a screenshot into a PDF, we’ll be using this tool.
- Change Screenshot to JPEG
After you’ve taken your screenshot with the Snipping tool, select File and Save as. When saving your image, you’ll see File Name, where you can type a name for your screenshot. Under this, you’ll see Save as type listed. You need to select this and then select JPEG.
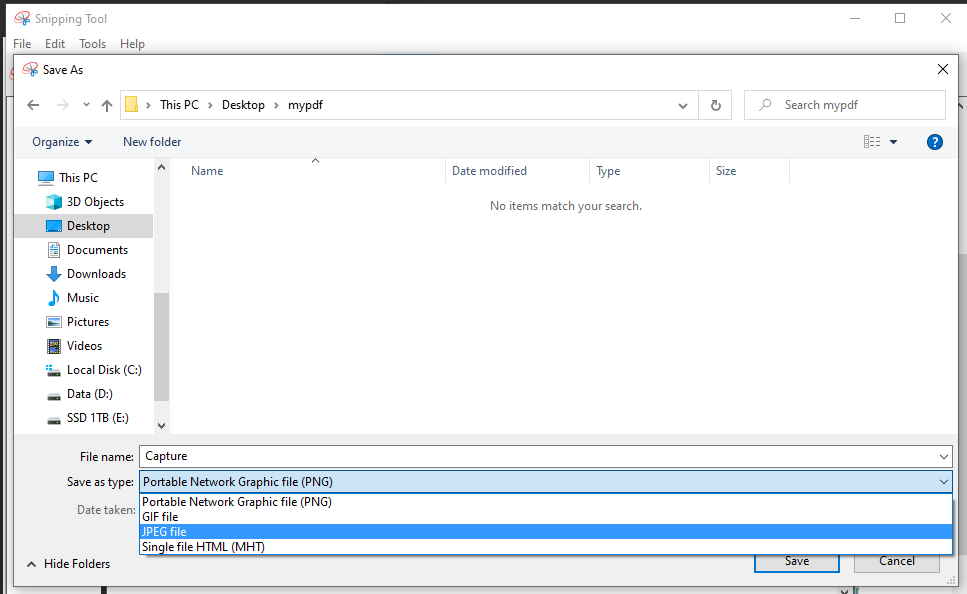
Take note of where you save your screenshot, as you’ll need to access this location later on.
- Convert JPG to PDF
Head over to PDF.Live’s convert JPG to PDF tool. This converter operates in your web browser. You can either drag and drop your screenshot into the tool from your file explorer or find it on your PC by selecting Select File to Convert.
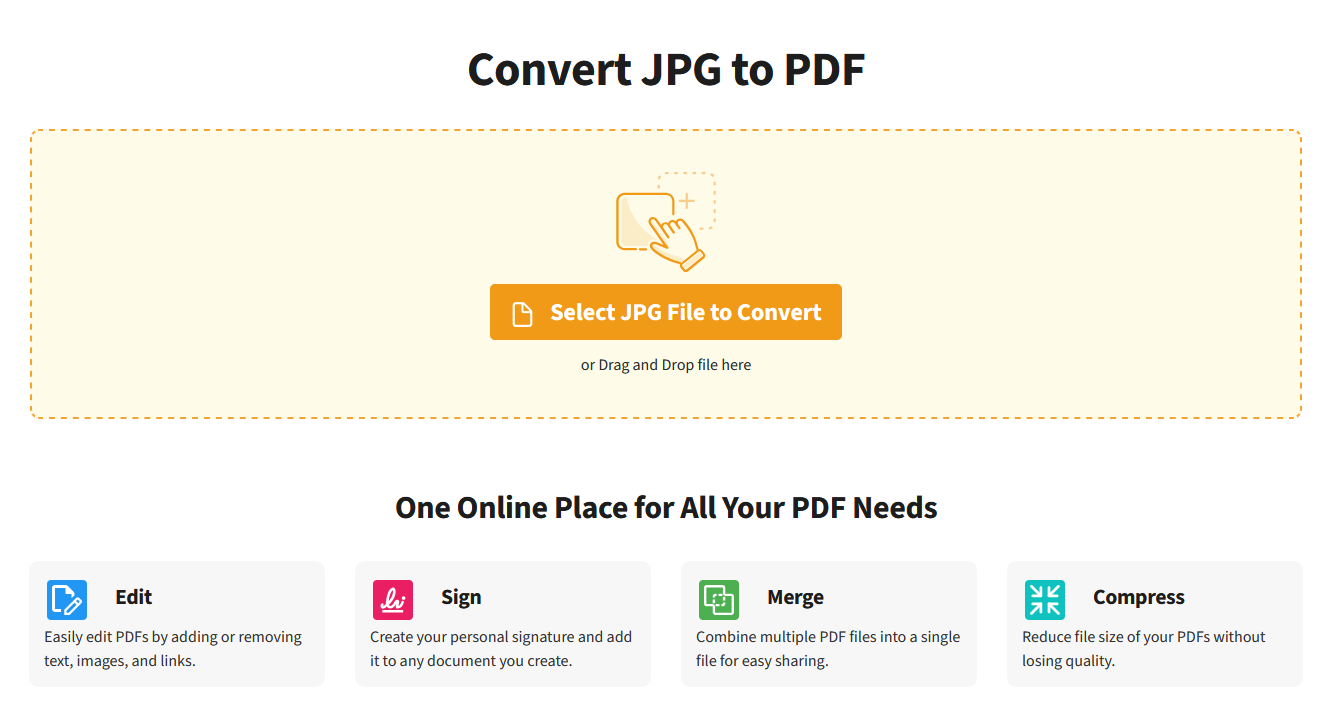
- Click Convert JPG to PDF.
Upon doing this, you’ll see a preview of your screenshot in PDF form. You can then download it or directly print it if you want a physical version of the screenshot.

PDF.Live welcomes you to try a limited number of conversions every day. If you need more, we offer very low-price subscriptions, which you may cancel at any time. For pricing, select PDF.Live Unlimited at the top of the page.