Resources » How To Edit PDFs »
Using a PDF Blackout Text and Object Tool
Hiding specific pieces of text is easy enough with a physical document — you can simply use a white-out pen or black marker and draw over a piece of text. But how do you do this with digital documents? This tutorial explains how.
First, an important distinction: Blacking out text is not the same as redaction!
When you black out (or white out!) text on a physical document, the content is still present on the PDF. A layer containing the black shape is simply applied over the PDF. If you were to black out text using PDF.Live and send it to someone, they could use PDF.Live’s editor or some other editing tool to remove the black rectangle and see the information you originally hid.
Redacting is a secure process that removes or hides confidential information. When you redact text, the content is deleted, so it’s impossible for anyone reading the document to see what was originally there. If you wanted to redact text using PDF.Live’s editor, you would use the Add Shape tool in the Popular Editing Tools to delete the text or object. You can then use the Rectangle tool in the Annotate tab to draw black rectangles to indicate where content was redacted, as described below.
So, how do you black out text using PDF.Live’s editor?
Steps to Blacking Out Text on a PDF
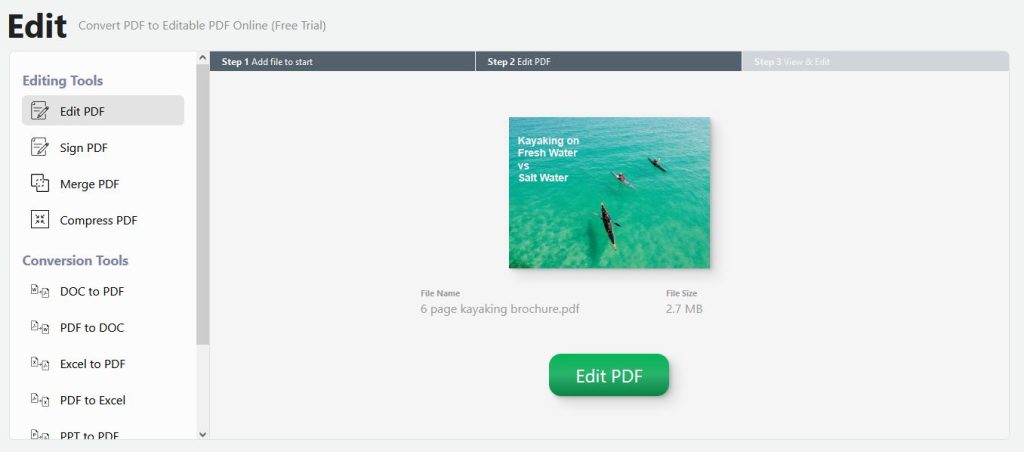
First, locate where the PDF you want to edit is on your computer. Then, upload your PDF to an editor. You will need to drag and drop your PDF into the editor or click Select File to Edit and navigate to where the PDF is located on your computer. Once you’re ready to get started, click Edit PDF.
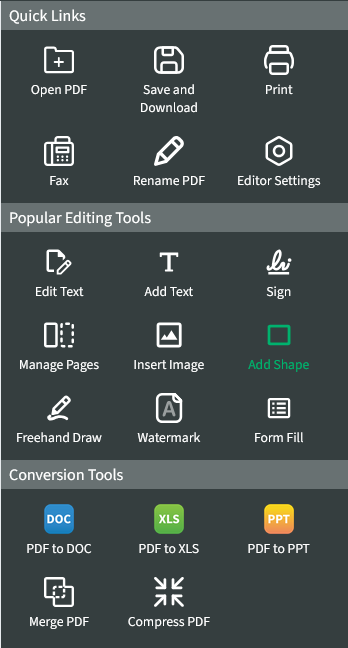
Similar to how we white out text, we’ll be drawing a rectangle over your PDF using the draw shape function. Under the Popular Editing Tools, select Add Shape.
Then, select Rectangle under the Annotate tab to create a rectangle.

You’ll need to adjust the formatting settings of the rectangle so that it has a black fill. Do this by selecting the arrow next to the format box on the right side of the annotate tab. This is where you control the formatting settings of the shapes that you create. The four colored boxes represent the four different presets that we offer.
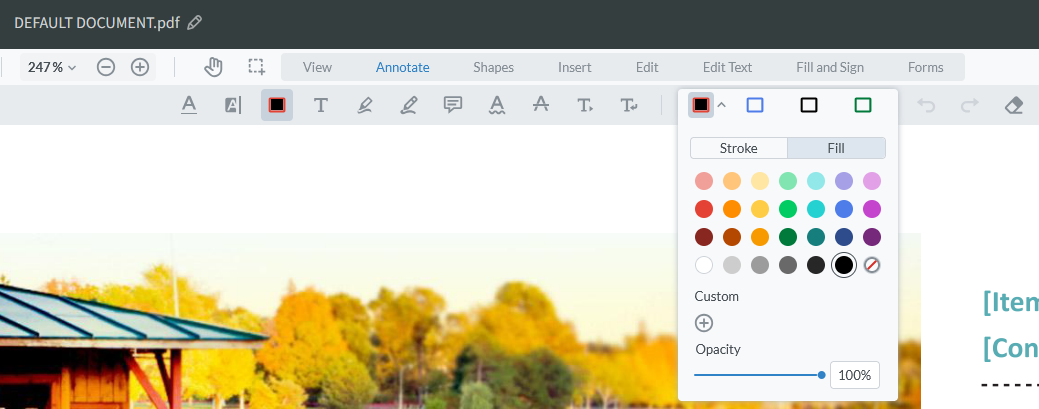
Under the formatting settings, set the box stroke to black and the fill to black.
You can then click and drag anywhere on your PDF to draw a rectangle. If you want to further adjust the dimensions of the rectangle, you can click the rectangle again and drag the dotted edges as necessary to cover all the text you’d like to black out. You can also further adjust the formatting settings of the rectangle.
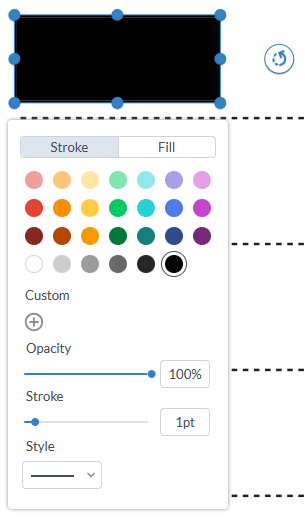
Once you’re happy with how the rectangle looks, click away from it. You’ll now see a rectangle in your document covering up the content that you wanted to be blacked out.
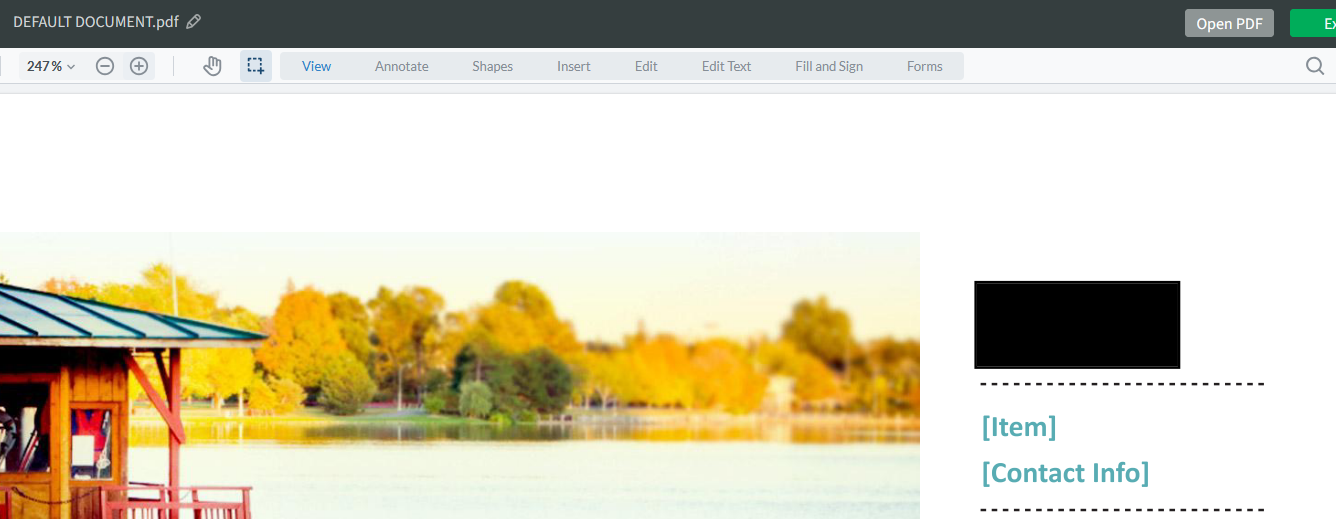
If you want to further edit or adjust rectangles or other shapes you’ve made on your PDF, click the boxes at any time to adjust their size, properties, rotation, or position.

