
Resources » How To Edit PDFs »
Using the Digital Whiteout Tool on PDF.Live
Remember whiteout? It came in a small bottle or tape, which you brushed, rolled or sponged on paper to cover up errors. It could be messy and smelly, too! Today’s digital whiteout is much easier to use, and PDF.Live’s tutorial walks you through the white-out application.
There are a number of reasons why you may want to white-out or cover an object on a PDF. Perhaps you have a piece of content that you don’t want viewers of a PDF to see. Or maybe there is an error in a PDF that you want to cover up or obscure. No matter your reason, whiting out or covering objects is simple using PDF.Live’s editor. The PDF.Live editor functions entirely in your browser, with no additional downloads required to start editing a PDF.
It should be noted that whiting out a document is not the same as redaction, which is a technical process that physically removes text and objects from documents. Using a digital whiteout process to cover content in a PDF doesn’t securely redact the content. Think of it like using whiteout tape or liquid to cover hard copies; the whiteout tape can be peeled off to remove what it was covering. To truly remove content from a PDF, use PDF.Live’s Edit text & image & shapes feature.
Steps for Using White-Out on PDFs
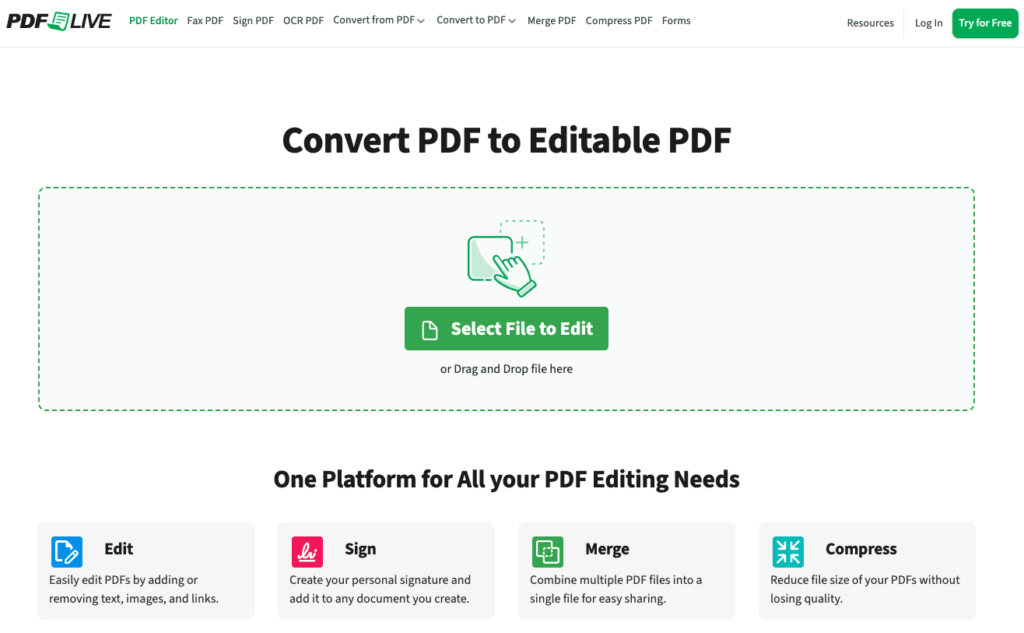
If you want to white-out or otherwise edit a PDF, you’ll need to convert your PDF to an editable PDF. Simply drag and drop your PDF into the field and select Edit PDF to start editing your PDF online. PDF.Live’s editor has a lot of functions, and we encourage you to explore the many ways you can edit a PDF.
Removing Objects and Text with a Free Online PDF White Out Tool
While there isn’t a specific whiteout tool on the PDF.Live editor, you can achieve the effect by creating a shape over the area that you want to white-out, erase, obscure or hide. You can then fill this shape with white, black, or another color, depending on how you want to cover the area of the PDF.
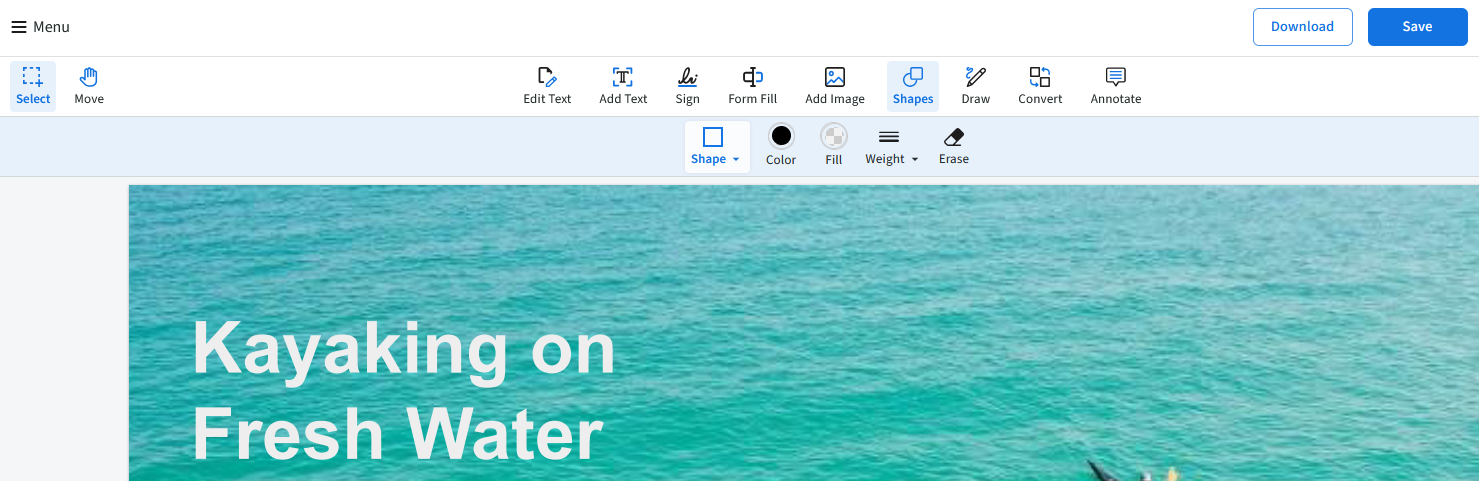
To get started, at the top of the PDF.Live editor, select the Shapes tab.
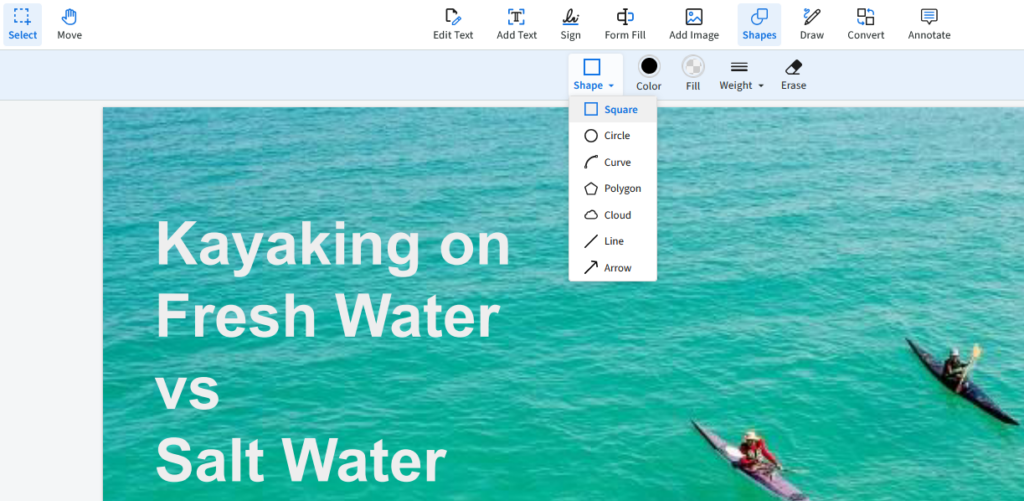
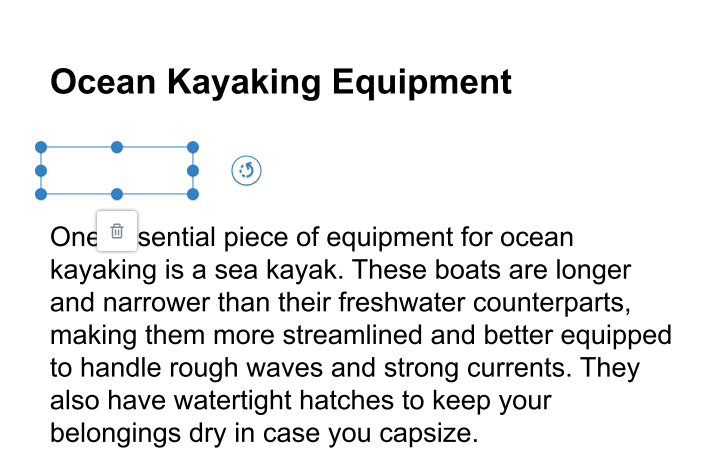
For the best results, click the Shape icon and select the Square shape. You will now be able to click and drag to draw a square over the area of the PDF that you want to cover up.
The rectangle will then appear over that section of the PDF. Click the shape to change its size, position, or formatting. Click the blue circles align its perimeter to adjust the outer bounds of the shape to cover the entire area.
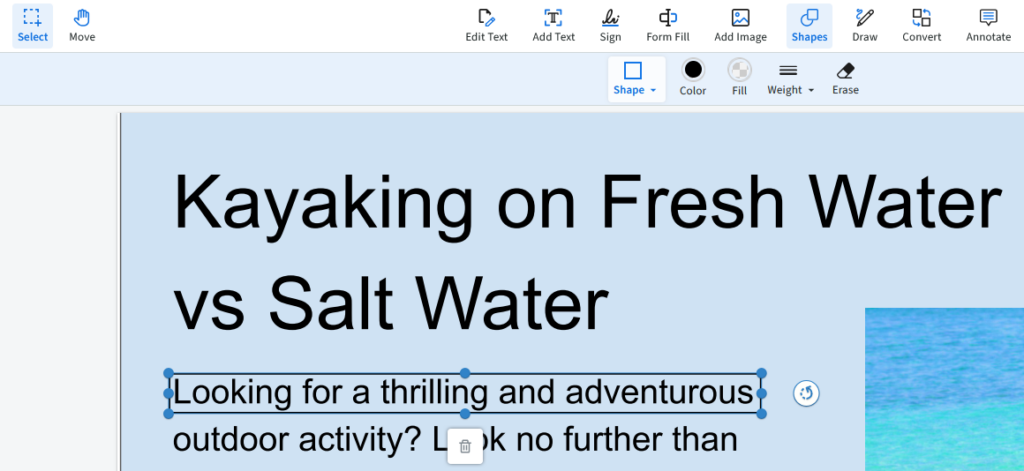
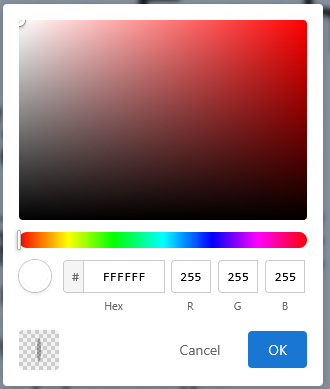
Of course, this rectangle doesn’t look much like white-out, so once you’ve got the shape where you want it, click Fill on the toolbar and select a White color. The below Hex code FFFFF will work.
You’ll have a few other options on the toolbar, such as changing whether the shape has a border and its thickness.
To white out a section of your document, set the fill to white and set the stroke color to white.
As you can see, the rectangle now has a white fill color that obscures the text underneath. For best results, white out text that already has a white background!
At the top of the PDF.Live editor toolbar, you’ll see those current formatting settings are saved for all additional shapes you make. When you make additional rectangles on your document to white-out text, you won’t need to adjust the color of each individual rectangle.

Rectangles such as this can be used to white-out or black out any part of a PDF that you don’t want to be visible. You can also further adjust the fill color using the color spectrum to match the background of your PDF if you want the blocked-out part of your PDF to be seamless with a background that isn’t white.
This is just one of the many features available with the PDF Live editor. Consider exploring the many options available for editing, annotating, and viewing PDFs entirely in your browser with no additional downloads.