
Resources » How to Annotate PDFs »
This tutorial answers the following:
- How do you insert an arrow in a PDF?
- Can you explain how to draw a straight line in a PDF?
- How can I customize the look and position of an arrow or line I add to a PDF?
Draw a PDF Arrow or Line
If you’re annotating or editing a PDF, it’s often useful to be able to point to specific areas of text or images. Arrows or lines can help you make these more nuanced annotations or signifiers on a document.
Whatever your use case, inserting an arrow or line in a PDF has never been easier than with PDF.Live’s online editor. This editor has a lot of functions for drawing shapes and annotating documents. However, for the purposes of this tutorial, we’ll be focusing on how you can add arrows and lines to any PDF you’re working on.
- Upload your PDF to the PDF.Live Editor.
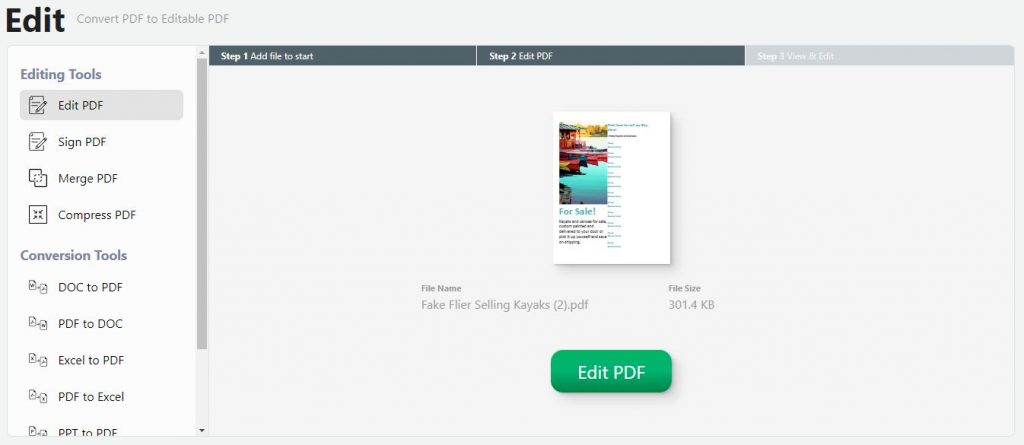
Simply drag and drop your PDF into the editor or click Select File to Edit and navigate to where your PDF is located on your computer. Once you’ve uploaded your PDF, click Edit PDF to open the PDF.Live editor and start editing your PDF.
- In the PDF.Live editor Quick Tools on the left-hand side of the page, select Edit Text.
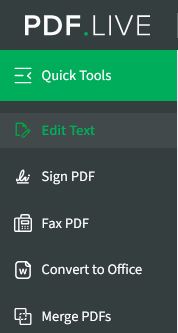
PDF.Live’s editing options are stored in different tabs on the left-hand side of the screen, similar to most other document editors.
3. For drawing arrows and lines, select Shapes.

Here you’ll see the many shapes and figures that PDF.Live’s editor allows you to make. You’ll notice on the right side of this bar, there are options to customize the style of your shape. We provide 4 preset styles, but you can alter these however you want. Change the stroke color and size of the shape, its fill color, and opacity.
4. Select the arrow or line icon and draw an arrow or line on your PDF.

Upon selecting Arrow or Line, your cursor will turn into a + sign, signifying that it’s in drawing mode. From here, you can click anywhere in your PDF to mark a starting point for your arrow. Then, hold down to click and drag your cursor to where you’d like the arrow to point to. Release your click when the arrow is pointing to the correct place. Remember: Where you release your left mouse button will be where the arrow is pointing. To change the beginning, end, direction or length of the arrow, tap or click the ends of the arrow to drag and drop them.

Drawing lines works the same way. The main difference is you won’t have to be concerned about starting and ending your line in specific spots, as with arrows.
Adding Custom Arrows & Lines in PDFs
Once you’ve created a line or arrow, you can change its location by clicking it and dragging it anywhere that you want it to be located. You can rotate it by pressing the circular arrow to the right of the shape and dragging it. It will rotate around a fixed axis in the middle of the shape.
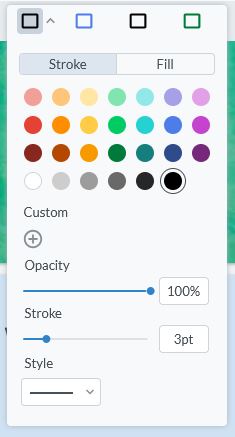
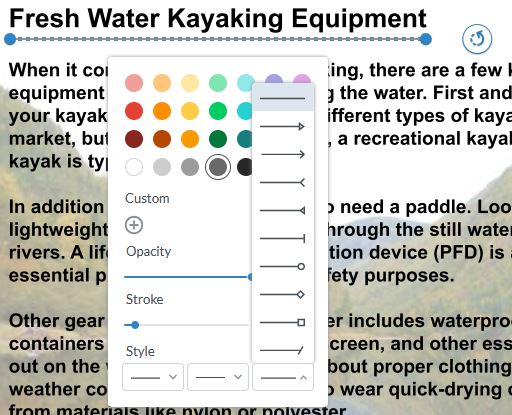
To change the color, shape, or other formatting settings, click your shape and then the paint palette icon that represents the style of your shape.
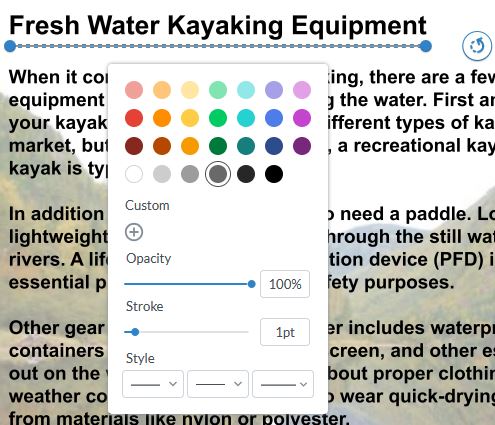
Here, you’ll be able to change how your arrows and lines appear. For example, you can choose a multitude of preset colors for your line. You can also make your own custom colors here. Alternatively, you can change the opacity or stroke size of the arrow or line.
The Style area at the bottom allows you to change the shapes located at the ends of your lines. You can use this to change which end of your line has the “arrow” or even the style of the arrow. For example, you could make your arrow have a dotted line instead of a solid line.
Try experimenting by drawing arrows and lines of your own on a PDF and changing around the formatting settings!