
Resources » Working With PDFs »
This tutorial answers:
- How do you add shapes to a PDF?
- Can you insert or draw shapes on a PDF?
- Show me how to circle something in a PDF?
Drawing Custom Shapes with PDF.Live’s Editor
There are endless possibilities to how you edit your PDFs using PDF.Live’s editor. This extends to creating shapes, as the PDF.Live editor allows you to draw free-form shapes. With the editor, you can draw a few preset shapes on a PDF — circle, square, polygon, etc. — and you can draw custom shapes on any PDF.
- Upload your PDF to the PDF.Live editor.
You can either drag and drop your PDF to upload it, or click Select File and navigate to where your PDF is located on your computer. Once you’ve uploaded your PDF, click Continue to open the PDF.Live editor and get started.
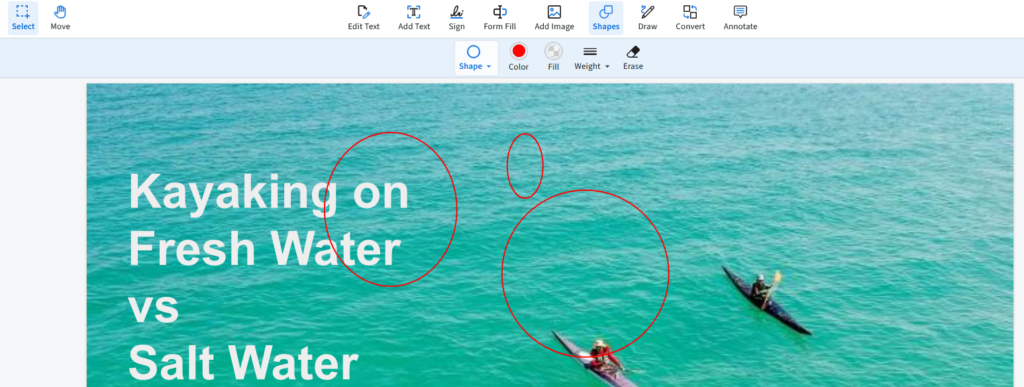
- In the PDF.Live toolbar, select Shapes to add a shape to your PDF.

The Shapes panel will open at the top of the PDF.Live editor, which allows you to create a number of different shapes in your PDF.

Your cursor will then turn into a plus sign, signifying that you can start drawing your shape anywhere on your PDF. By default, you’ll be drawing a rectangle.
To do this, hold down your left-click button and drag your mouse to start drawing a shape. Once you’ve made your shape, you can select the Pan tool that looks like a hand or simply click the shape you’ve created to reposition it. You’ll be able to see if you have the shape selected if it has multiple blue circles around the perimeter and the toolbar underneath.

The Toolbar allows you to change the formatting settings of your shape. If you want to change the shape’s color or add an internal fill, you can do so from here. You’re also able to change the thickness or erase the shape entirely.
3. For other free-form but preset shapes, check out some other icons within the Shapes tab.
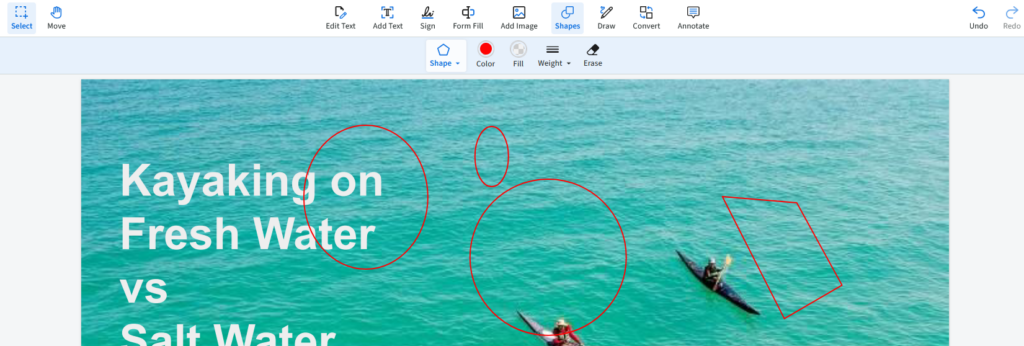
For the purposes of this tutorial, we’ll be focusing on the Polygon and Polyline functions. These tools allow you to draw multiple straight lines within a single shape. The rectangle that we drew before was fine, but with the polygon function, we’ll be able to create more complex shapes.settings to change how your shapes appear on your PDF.

Select Polygon and click anywhere in your PDF. A line will then be anchored to that point. From there, you can click somewhere else in your PDF to create an endpoint for that line. You’ll see a line appear between the anchor and your mouse cursor, so you know what the line will look like.
Once you’re drawing the final line within your shape, attach it to the beginning of your shape, which is marked by the outlined box. You can also double-click at any time to have the polygon tool automatically attach a line from the beginning of your shape to the final line you’ve drawn.
Try experimenting by making shapes of your own on your PDF! Try adjusting the formatting settings to change how your shapes appear on your PDF.