
Resources » Working With PDFs »
In this tutorial, you’ll learn how to:
- Add photos to a PDF
- Add JPG and other image files to PDFs
- Insert a photo into a PDF
- Paste images in PDFs
- Remove images from PDFs
- Extract specific images from PDFs
- Delete images from a PDF
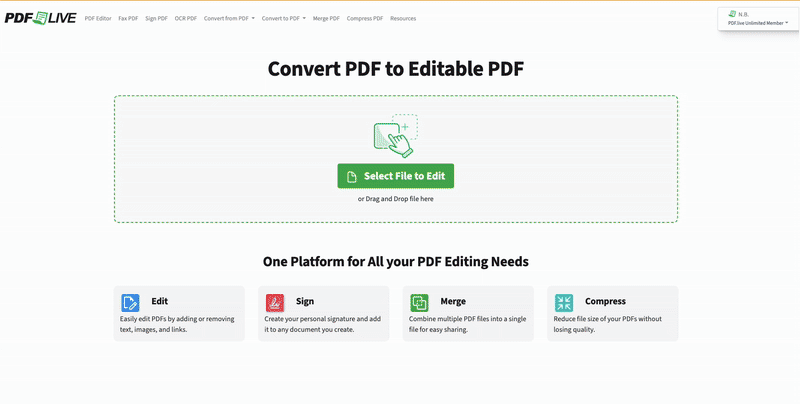
PDF.Live’s online editor allows you to work with PDFs and several image formats. We’ve covered how to convert PDFs to JPEG images as well as how to turn pictures into PDFs. But what if you want to add an image to a PDF? What if you want to remove a specific image from a PDF? Or pull that image out of a PDF for use somewhere else?
With the editor, you can both add and remove an image from a PDF entirely online. This works with several popular image formats and with all PDFs.
In this guide, we’ll walk you through the process for adding and removing images from PDFs.
How to Insert Photos to a PDF with the PDF.Live Editor
- Upload your PDF to the online editor to convert it to an editable PDF.

Either drag and drop your PDF into the editor, or select the file from your browser. Then select Edit PDF to enter the editor.
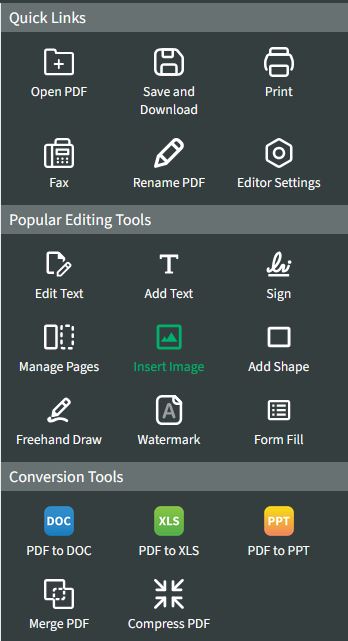
- In the Popular Editing Tools tab of the editor, select Insert image.
3. Click New Image and then click in your document where you’d like your image to appear.
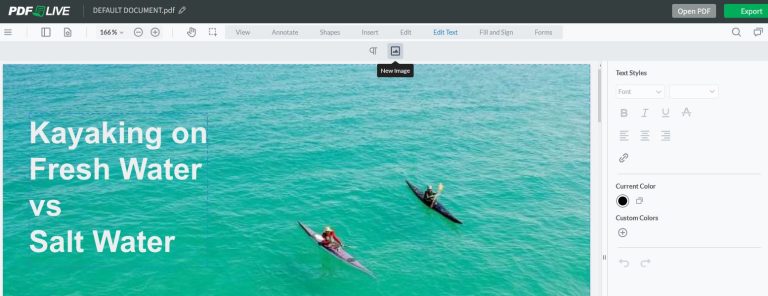
The location and size of the image can be adjusted once it’s inserted, so don’t worry too much about getting the exact location correct. Focus on inserting the image on the right page of your PDF.
- Navigate to the file location that contains the image you’d like to add to your PDF.
You can add images in the form of several popular file formats, such as JPEG, PNG and TIFF. GIF files can also be added to the PDF, but they may not be animated, and are typically of low resolution if your intention is to print the PDF. There may be other image file formats your images are in, such as HEIC. However, those are not supported by the add image feature.
Select the image file you’d like to add.
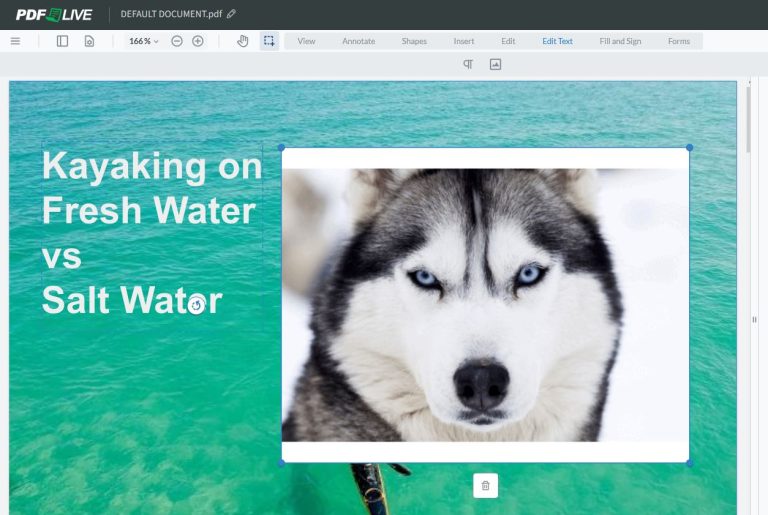
You will then see the image added to your PDF. You can further adjust the width and height of the image (in pixels) by dragging the dimensions of the picture with your mouse.
You can also click the center of the image to change its placement in your PDF. Select the Trash can icon at the bottom of the image to delete it.
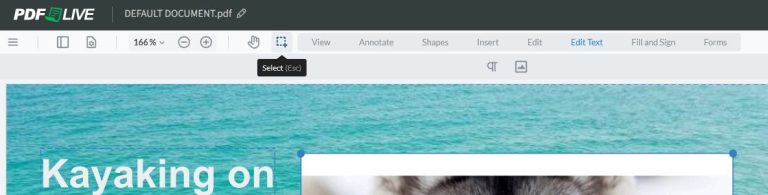
Notice that the Select icon is currently selected. If you deselect or click away from any images you’ve added to your PDF, or make other edits, you can always go back and edit their positions again by clicking the Select icon. You will also have to click New Image to continue editing existing images. You can even edit images that are already in your PDF!
Note that the quality of your images will be tied to the original file’s resolution. If you resize an image to have a larger pixel dimension than the original file, it may look blocky and low-quality. The larger the original PDF image, the fewer issues you’ll likely have.
Extract Photos from a PDF with PDF.Live
If you have access to a PDF reader, it may have tools to help you extract high quality images in a variety of formats. The PDF.Live editor has a snipping tool built into it that lets you extract specific parts of your PDF and copy/save them for future use. These images won’t have higher resolutions than your PDF, but you’ll be able to extract elements from a PDF using the steps below.
1. Upload your PDF to the PDF.Live editor to convert the PDF to an editable PDF.
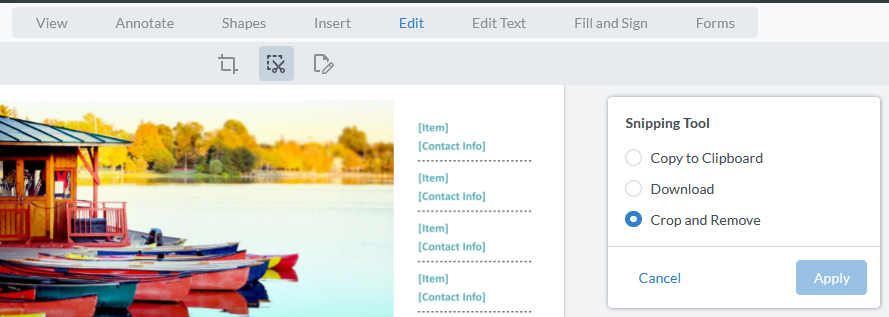
2. Select any of the options under “Popular Editing Tools,” then from the menu, select Edit. Under the Edit tab, select the Snipping tool icon, which looks like a box with scissors next to it.
3. To extract an image to your clipboard (for pasting elsewhere), select Copy to Clipboard.
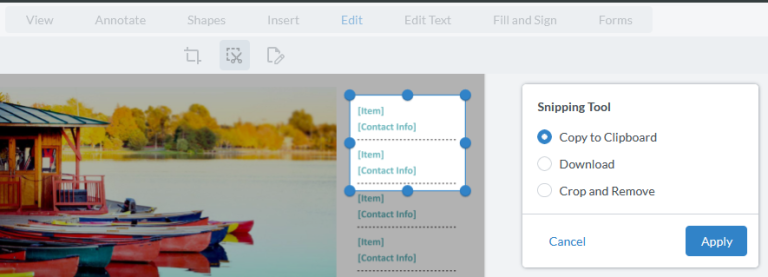
You will then be prompted to draw a box on your PDF that will represent the boundaries of the image you want to extract. In the above example, we’ve marked a section for extraction. You can further adjust the bounds of this box by clicking and dragging the blue dots around the perimeter. When you’re done, click Apply.
You can then Paste the image anywhere else you want, like in a separate document!
4. To download the extracted image (in PNG format), select Download.
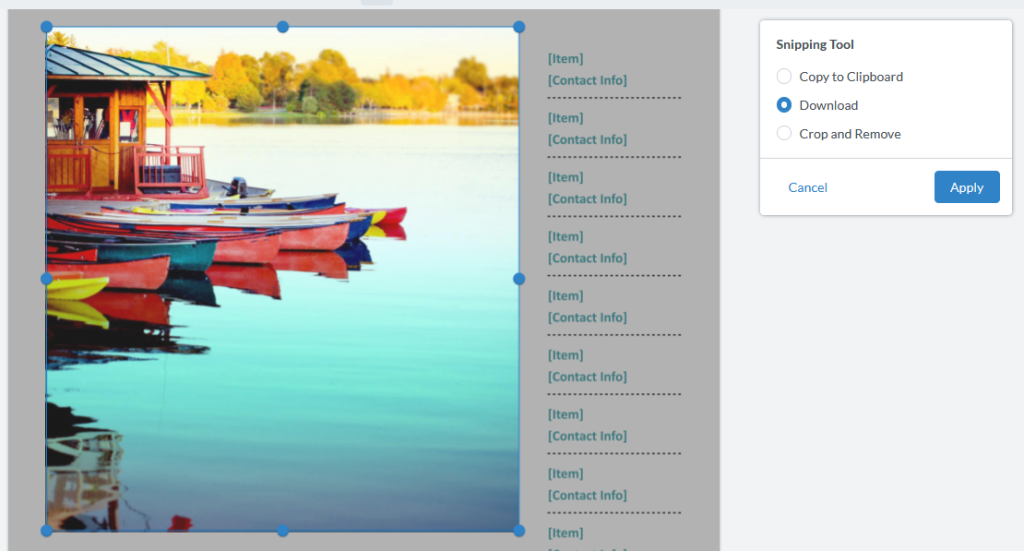
Use the same process in the previous steps to specify an area that you want to extract from your PDF document. You can then select Apply and PDF.Live will immediately download the section of your PDF that you snipped as a PNG image file.

The final option, Crop and Remove crops all except a section of your PDF that you specify from a page. If you want to reduce the size of a PDF, or only include a specific section of your PDF, you can select an area and crop it to remove everything else that’s in the document except for the specified area.
The snipping tool works with almost anything that’s on your screen, so try it out to understand how it works!
How To Delete an Image From a PDF
While editing content, you’ll notice that the PDF.Live editor detects regions of content for you to edit, including images. If you want to remove an image entirely, follow these steps:
1. Under the Edit panel, select the icon that says Edit.
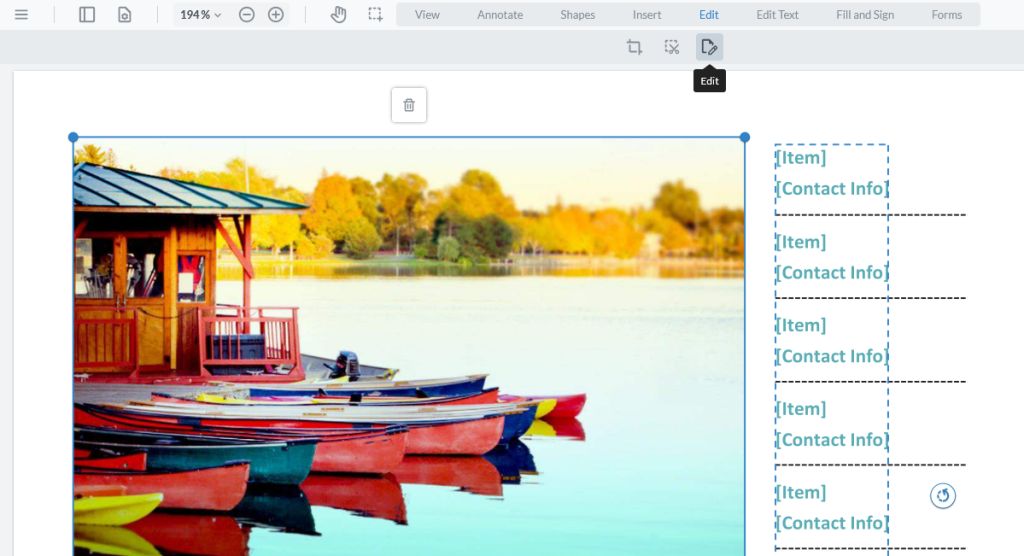
2. Click the image that you want to remove. You will see a Trash Can icon hovering nearby that says Delete.
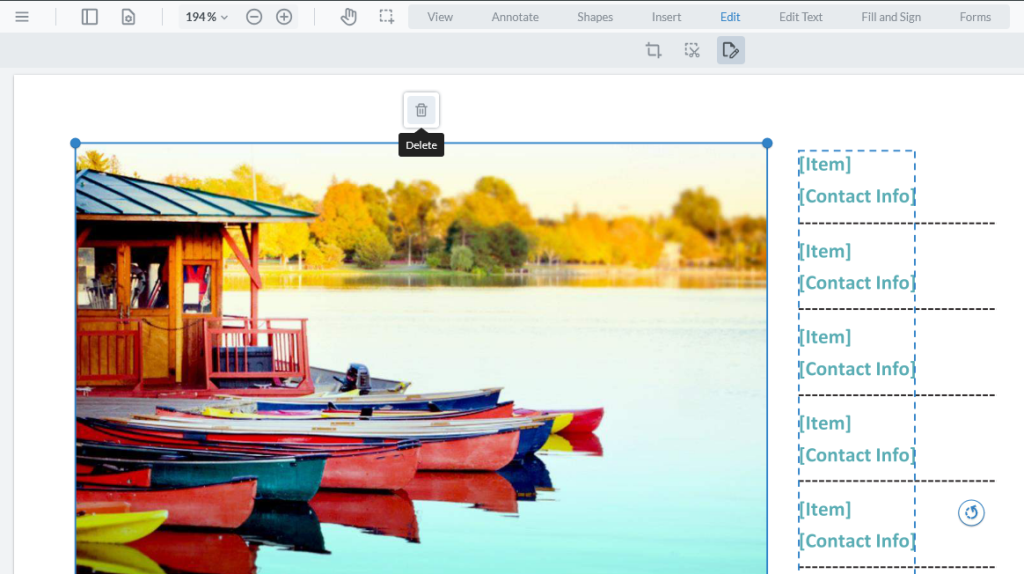
3. Click Delete to remove the image from your PDF.
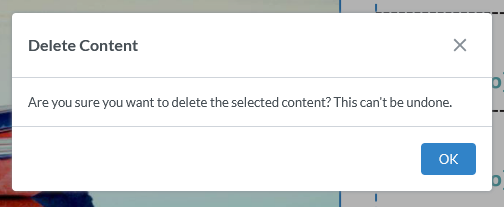
This process can’t be undone with an undo feature like Ctrl + Z. If you want that image back, you will either have to re-insert it using the steps we outlined earlier or start from scratch with the PDF. Make sure that you’re deleting the correct image!