Resources » Working With PDFs »
Tips For Getting the Most From PDF.Live’s Edit PDF App
PDF.Live’s editor tool is a powerful online tool for changing, measuring, and reading PDF files. Our editor can add and delete pages, convert PDFs to fillable forms, annotate a PDF, and more. The editor works entirely in your browser, so there’s no need for a separate download to view and edit your PDFs.
The PDF.Live editor does a lot of cool things. In this article, we’ll go over the cool stuff that you can do using the PDF.Live editor, including advanced tools. All of these editing features are included with a PDF.Live subscription.
Basic PDF Editing Features
These are the basic functions that you can do with PDF.Live (with links to more help articles to see how it works).
- Getting started: How to edit a PDF online
- Add pages to a PDF
- Delete pages from a PDF
- Rotate PDFs
- Extract pages from PDFs
- Print a PDF
Advanced PDF Editing Features
These are a few more advanced things you can do with PDF.Live:
- Add links to a PDF
- Annotate PDFs
- Draw custom shapes
- Create fillable forms from PDF files
- Merge several PDFs into one
- Resize PDFs
8 ‘Hidden’ PDF Editing Tools
The following aren’t really “hidden” features, but they are lesser known features that may surprise and delight you!
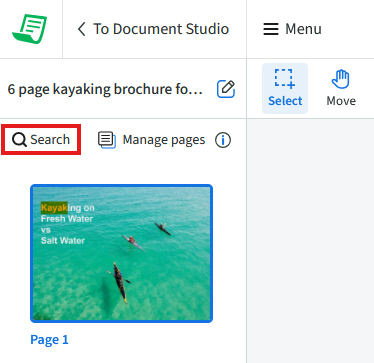
1. Search
The PDF.Live editor can search for text in your PDF similarly to a document editor. This tool is located in the upper-left corner of the PDF viewer in the PDF.Live editor. It’s marked by a magnifying glass icon with the text “Search”.
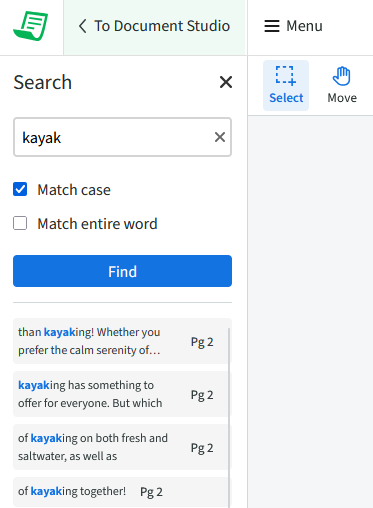
Using this tool, you can enter text in the search bar to find all the instances of that text within your document. You can search case sensitive, which will only look for the exact lower or upper case text that you type. This is useful for finding a specific word or phrase that you’re looking for in your document.
2. Add Image
The Add Image tab lets you add new images anywhere in your PDF. Click the Add Image button and your cursor will turn into a + sign. You can then click anywhere in your PDF to add an image.

Click your PDF and you’ll be prompted to navigate to an image that you’ve saved on your computer. The image will need to be a .PNG or .JPG file.
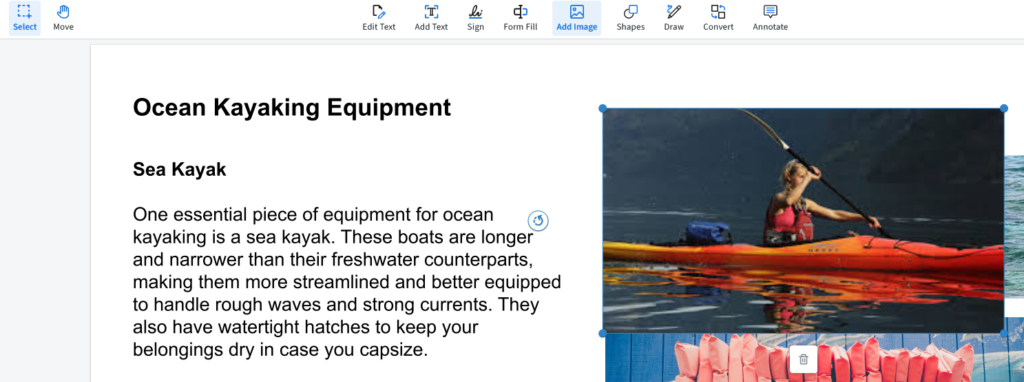
Once uploaded, your new image will appear in the PDF. Click and drag it to adjust its location and click the blue circles around its perimeter to adjust the size. To delete the image, either click the trash can or the delete key.
3. Document Conversion
Want to immediately convert your PDF to a new format like a Word doc, Excel, or PowerPoint? The Convert tab allows you to do just that. Simply click Convert and then the conversion feature of your choice.

Once you’re ready, click Convert to PowerPoint to have your PDF converted to a PPT.
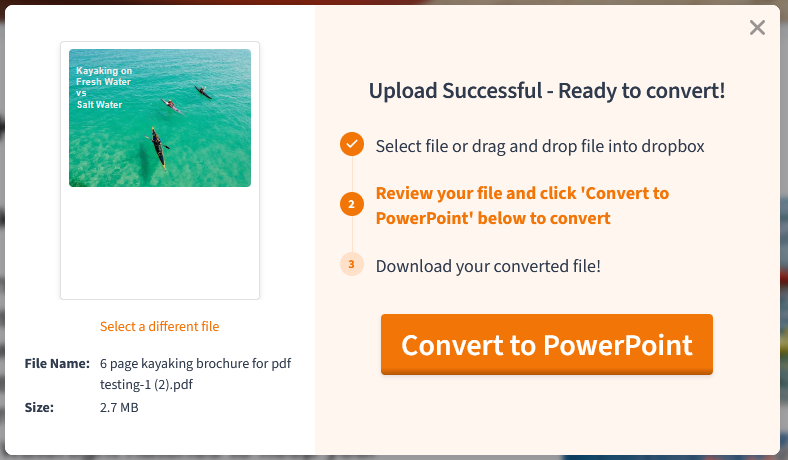
Download the powerpoint version of your PDF once the conversion is completed.
4. Compression
While we’re in the Convert tab, check out the Compress feature, which will help reduce the file size of your PDF for easier storage on your computer, tablet, or smartphone.

Click Compress and then adjust the compression level slider in the dialogue box. A higher compression level will have a smaller file size, but may come at the cost of your PDF’s quality. Click Compress PDF when you’re ready.
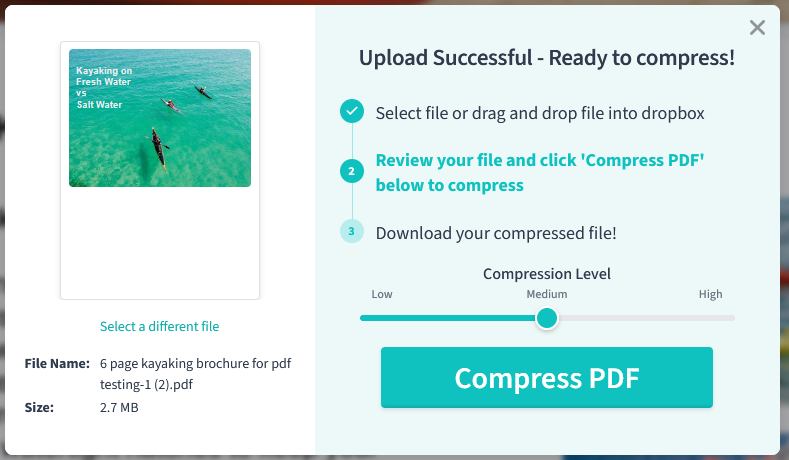
Download your compressed PDF once it’s been compressed. Look at how much we’ve reduced the size of this PDF!

5. Add Arrows
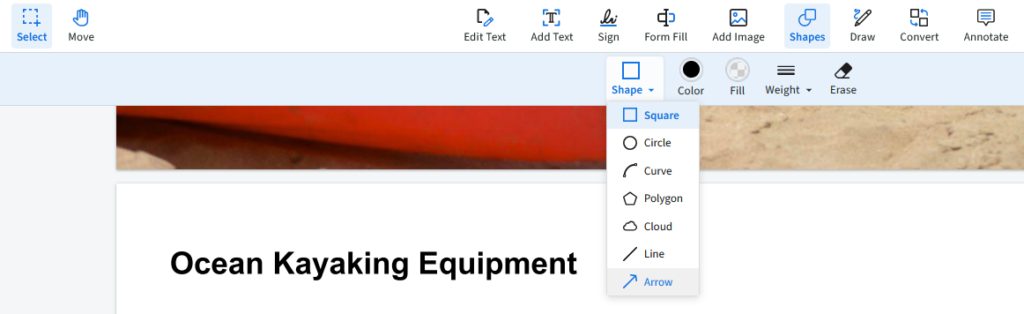
Want to call out or draw attention to a specific area within your PDF? Under the Shapes tab, you’ll see the option to add an Arrow when you click the dropdown next to Shape.
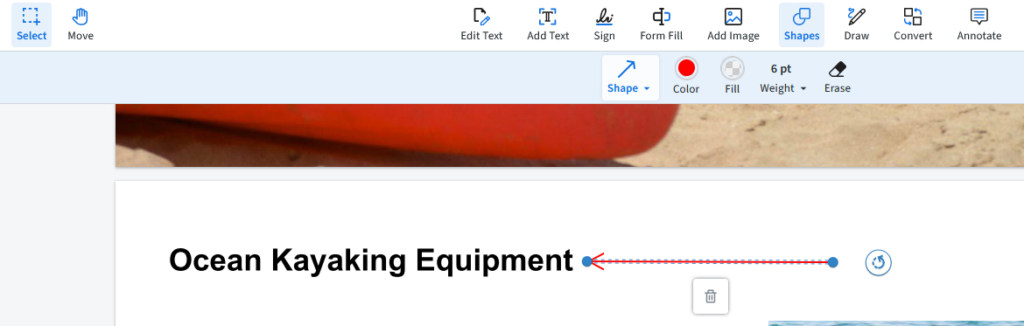
If you click and drag on your PDF, you’ll then create an arrow pointing at something in your document. Once you’ve created an arrow, you can click and drag the blue circles on either end of the arrow to adjust where it’s pointing. In the Shapes toolbar, you can adjust the color of your arrow. See the arrow we’ve created in our PDF:
6. Change PDF view
Sometimes a different perspective is useful for editing a PDF, especially if the PDF is formatted horizontally rather than vertically. With the Change View feature, you can change the way you display the pages of the PDF you’re currently editing. Find the change view feature on the bottom left of the PDF.Live editor.
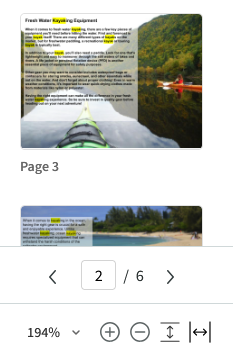
From here, you can change how zoomed the view of the PDF is and whether it’s scaled to fit the page vertically or horizontally.
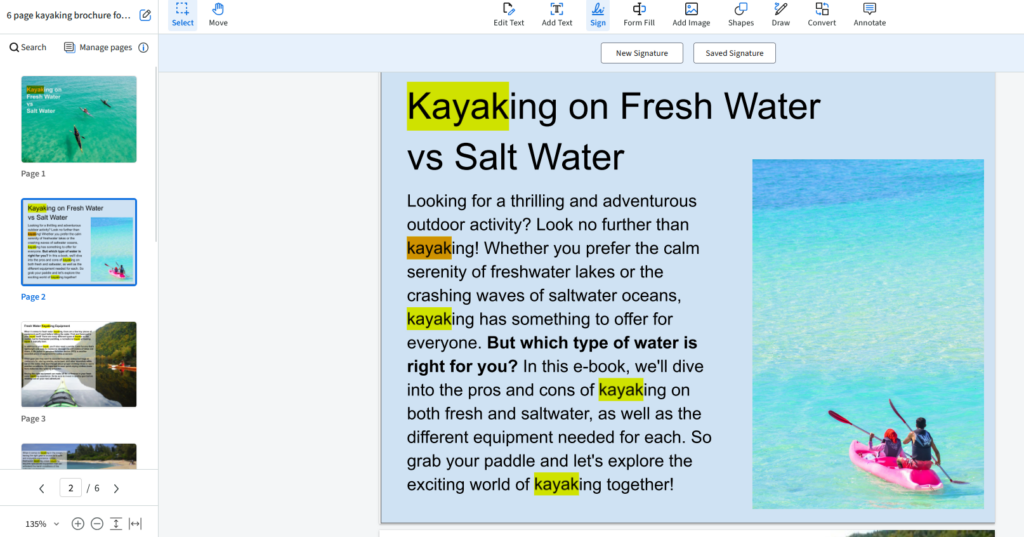
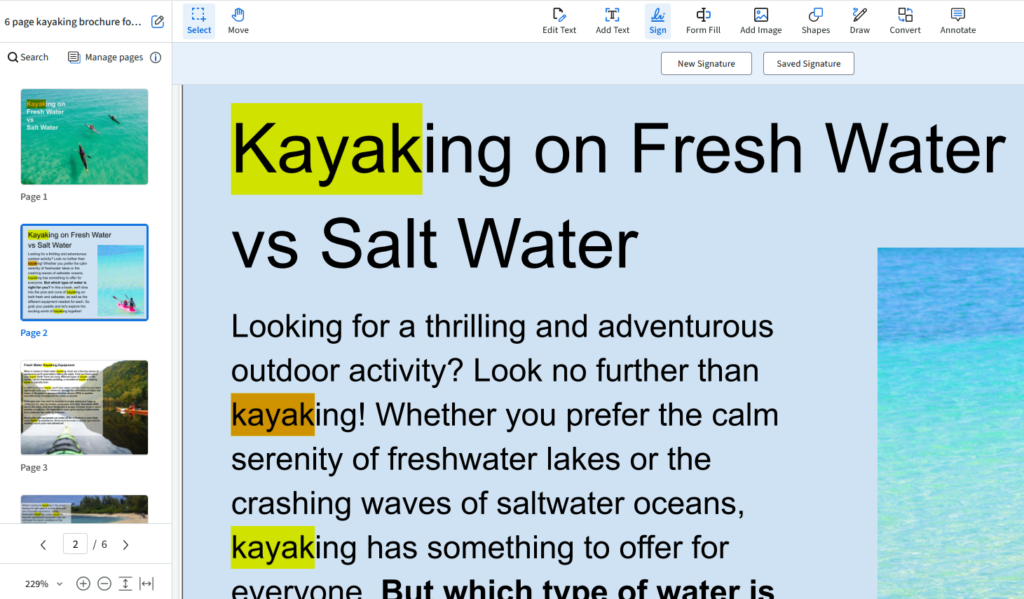
7. Add signatures to your PDF
Need to quickly sign a document? The Sign tab of the PDF.Live editor can help you add a signature to your PDF with a few different options for how you create your signature.

Click New signature to either draw, type, or upload a picture of your signature.

- Draw – Draw your signature in the grey box to be added to the PDF.
- Type – Type your name and have a cursive signature version added to your document.
- Upload – Upload an existing image of a signature that you’ve wrote.
Once you make your signature, click Create and PDF.Live will turn your cursor into your new signature. You can then click anywhere in your PDF you want the signature added.

You can also access past signatures you may have made by clicking Saved Signature
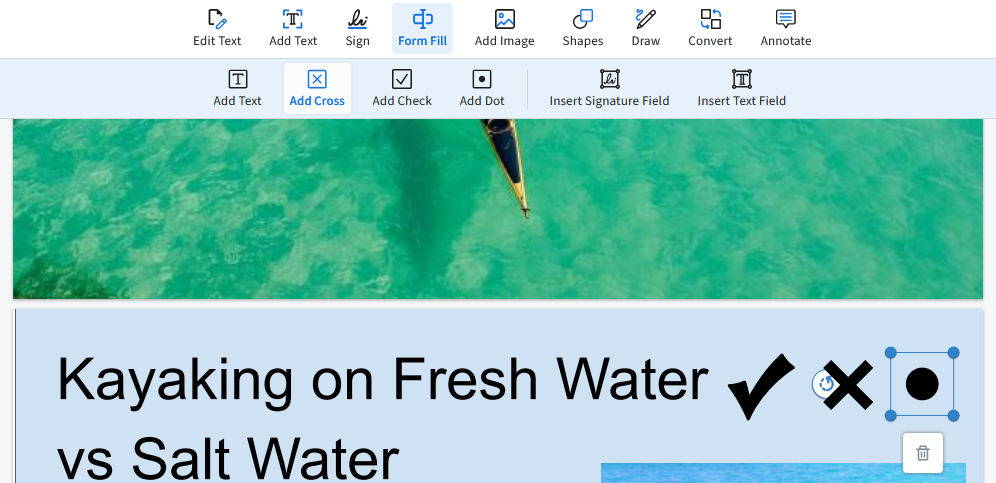
8. Add checkers, crosses, and dots to your PDF
We’ve covered how to make a PDF a fillable form before, but what if you just want to add a checkmark? With the Checkbox, Cross, or Dot buttons under the Form Fill tab, you can add these unique shapes to your PDF.

Click and drag where you want your new shape to be placed on your PDF. You can resize existing checks, crosses, and dots by clicking the blue circles around the shape. Delete the shapes with the delete key or by clicking the trash can.